
When you are experiencing connectivity troubles, lost passwords, or setup mistakes, resetting your Tenda router may be incredibly useful. However, after the reset is complete, the router returns to factory settings, requiring you to set it up again from scratch. If you're wondering how to connect Tenda Router to WiFi after a reset, this short and easy instruction will help you through the process.
1. Turn on your router.
Begin by connecting the Tenda router to a power supply. Wait for the LED indications to settle. After a reset, most Tenda routers broadcast a default WiFi network name, which is often Tenda_XXXXXX.
2. Connect to the default WiFi network.
Open your phone or laptop's WiFi settings and connect to the default network. After a reset, it normally has no password, but if you need one, it's listed on the sticker at the bottom of your router.
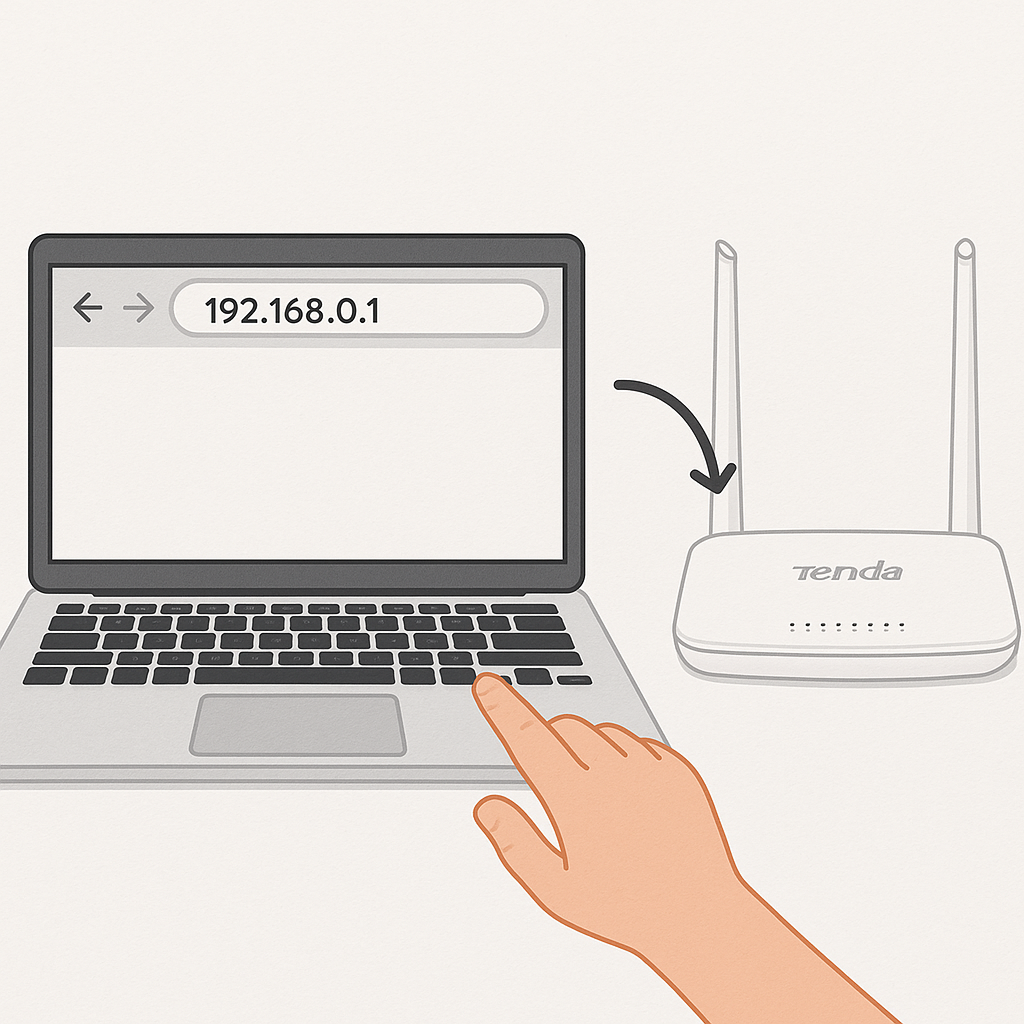
3. Open the Tenda Setup Page.
Once connected, open a browser and type 192.168.0.1 or tendawifi.com into the address box. This will take you to the Tenda Router Setup Page. If required for a login, the default username and password are frequently admin, however many modern Tenda models do not require a login following a reset.
4. Configure Internet Settings.
The router will automatically recognize your internet connection type (PPPoE, Dynamic IP, or Static IP). If your ISP provides a username and password (often for PPPoE), insert it here.
5. Configure WiFi Name and Password
Now, select your new WiFi network name (SSID) and a secure password. This is the network that all of your devices will connect to.
6. Save and reconnect.
When you save your settings, the router will reboot. Reconnect your devices with the new WiFi name and password.
Following these instructions makes it simple to connect the Tenda Router to WiFi after a reset. With a correct tenda router configuration, you'll be able to restore your wireless network in a matter of minutes. To know more visit our website.
Write a comment ...